

Wednesday, 31 August 2016

Sunday, 21 August 2016
Shop Update #2 - Project Bags, Notions Pouches, zip pouches, DPN cozies
Namaste!
Our Krityum Handmade etsy shop (krityumhandmade.etsy.com) now has a bunch of project bags, cosmetic bags, zip pouches and more. There are a lot of one of a kind ones in this update. More styles coming soon.
These bags are great for use with your knitting and crochet projects, but that's not all. They are also good for organising a number of other stuff including school supplies, cosmetics, and other bits and bobs. Here are the different styles that are available in the shop now:


Find all the details for these in our etsy shop listings. In addition, there are a few knitting stitch markers available now. Crochet markers coming soon.

You can see our shop update video for these items on our YouTube channel.
Cheers!
Friday, 29 July 2016
First 100 giveaway on Instagram

Namaste!
Just a short post today to let everyone know that we (me and my sister) are holding a giveaway on our Instagram accounts in celebration of our first 100 followers. So we will be giving away this gorgeous handmade journal to one lucky winner on Aug 5th, 2016. It would be great for your project journal if you are a crafter or just a daily journal of your thoughts.

We have put up a small little video on our youtube channel too, to let everyone know.
Just a few simple rules to make your entry:
Follow both our accounts on Instagram if you are not already - @krityum & @krityumhandmad
Tag at least one of your friends on Instagram to our original giveaway post. The more tags you make the more entries you get.
Repost our post on your public account with #first100
So All the Very Best to everyone.
Tuesday, 19 July 2016
Our first Etsy Update video! Hand Dyed Yarns for your pleasure!

Namaste!
This is the supporting blog post for our first ever Hand Dyed Yarn update, for our etsy shop, on our new youtube channel.
Be warned this is going to be a picture heavy one. Click on the name of the colorways under the picture to take you to the etsy shop listing.
First up are few skeins of our Superwash Merino Worsted Weight Yarn
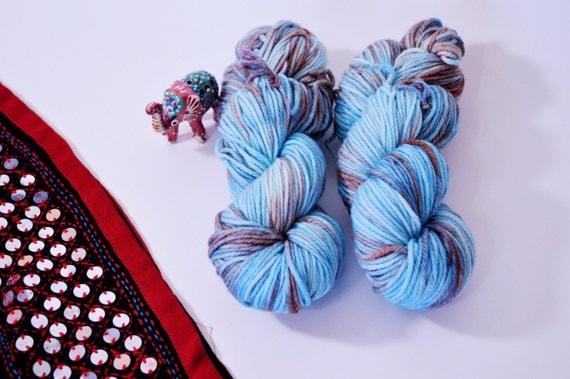 |
| Two skeins of Moody Sky |
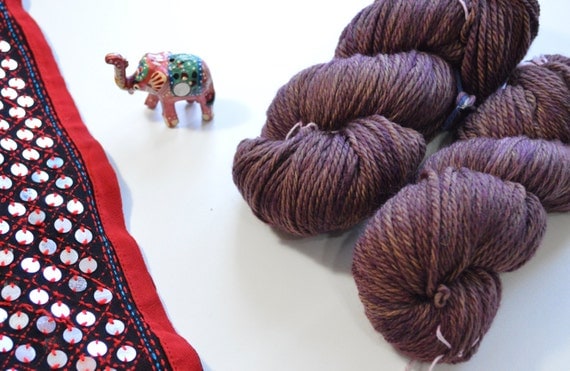 |
| Two skeins of Wild Pansy |
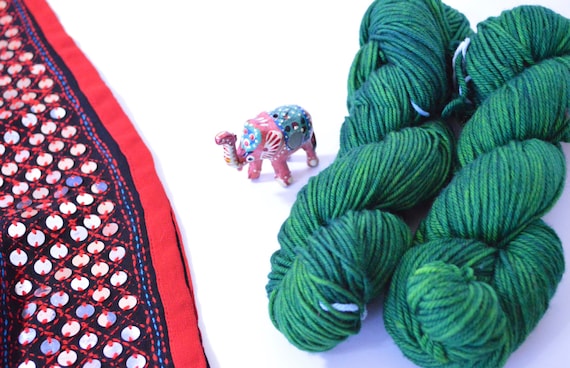 |
| Two skeins of Hari Mirch |
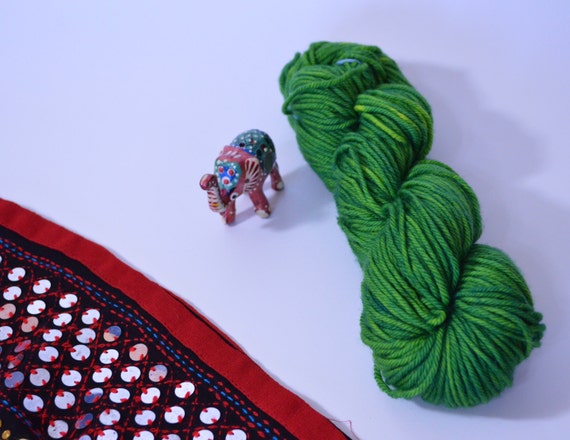 |
| One Skein of Tota |
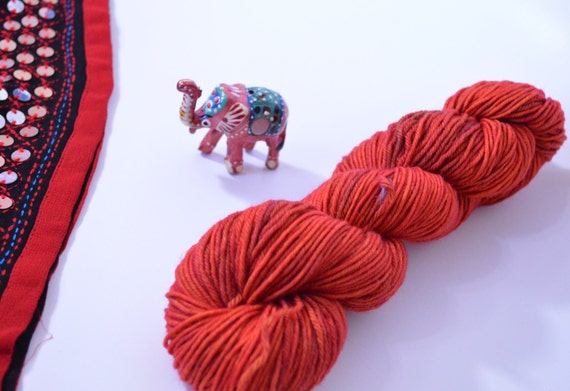 |
| One skein of Genda |
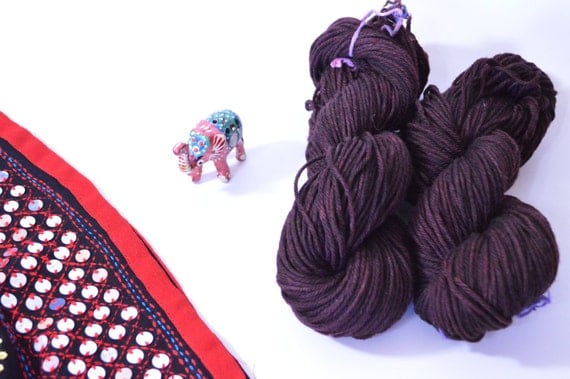 |
| Two skeins of Thums Up |
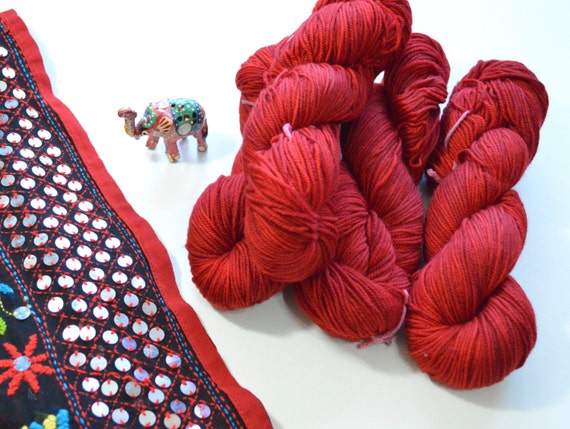 |
| Three skeins of Sindoor |
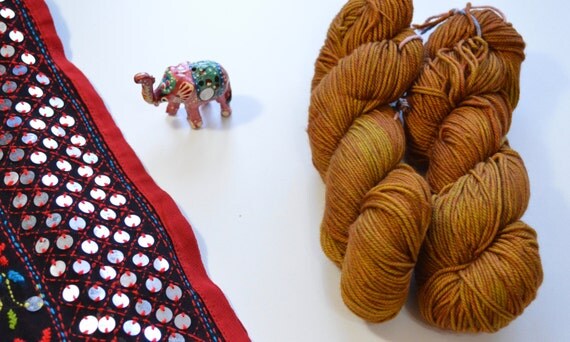 |
| Two skeins of Patjhad |
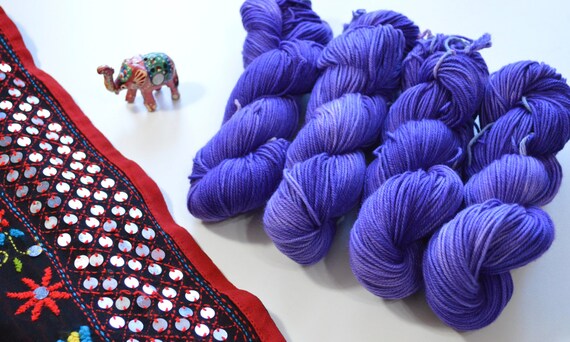 |
| Four skeins of Purple Hues |
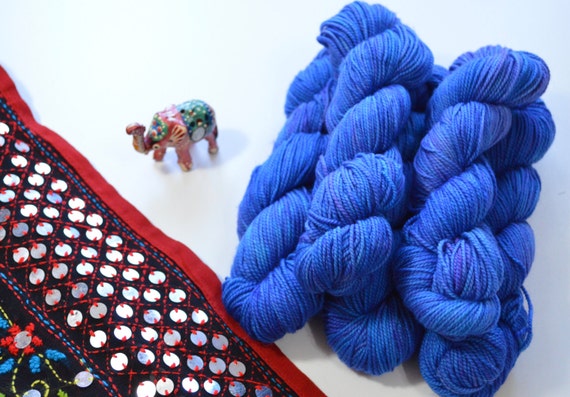 |
| Five skeins of Neel Kamal |
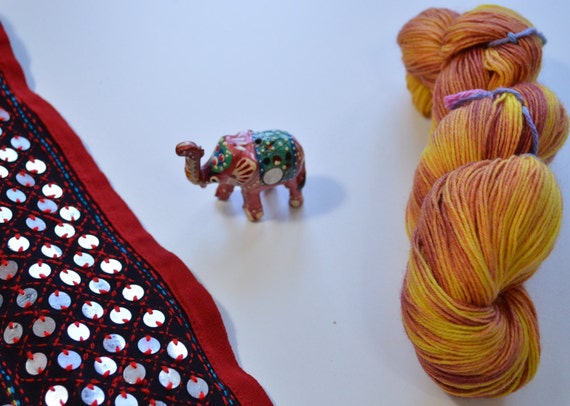 |
| One skein in Aru |
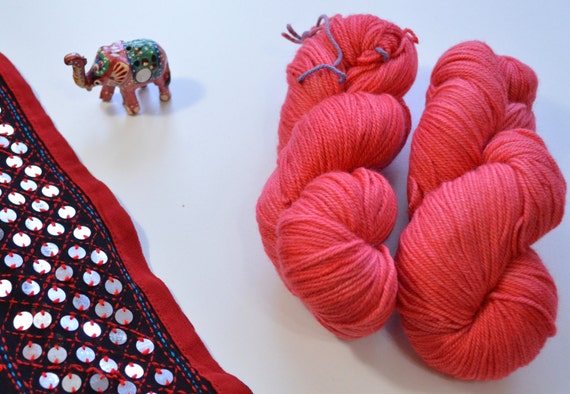 |
| Two skeins in Lali |
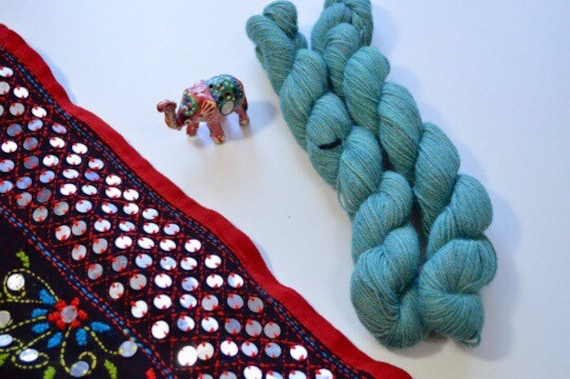 |
| Three skeins of Hariyali |
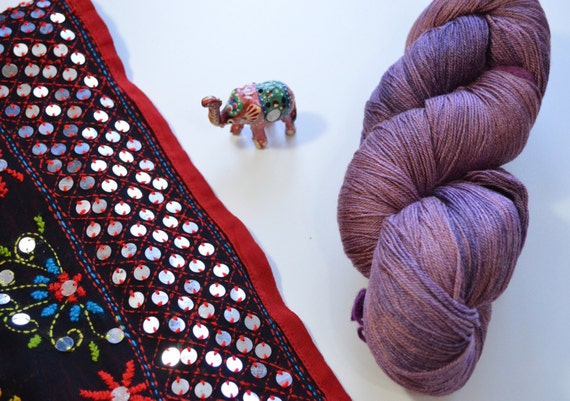 |
| One huge skein of Jamun |
You can find the youtube video for this update here:
Best,
Krityum Sisters
How to sew a custom bottle cover

Namaste!
This is the supporting blog post for our second sewing project video tutorial on our new youtube channel... How to sew a custom bottle cover. We looked at primarily two sources while coming up with this one:
The dimensions for fabric for one bottle cover are as follows:
- One rectangle of main fabric
- Width = largest cirumference on the bottle + 1.5 in (4cm)
- Length = Height of bottle - 1in (2.5cm))
- One rectangle from inner fabric with the same dimensions as above
- One circle outer fabric drawn by tracing 0.5in (1cm) out of the actual largest circumference on the bottle
- One circle inner fabric with the same dimension as above
- (Optional) One rectangle of fusible fleece or interfacing with 0.5in (1cm) less all around dimensions of the fabric rectangles we cut before
- (Optional) One circle of fusible fleece or interfacing with the same circumference as the largest circumference on our bottle
- For longer strap
- For a kid - a rectangle each from inner and outer fabrics with width = 2.5in (6.5cm) and length 33in (84cm)
- For an adult - a rectangle each from inner and outer fabric with width = 2.5in (6.5cm) and length 58in (147cm) or desired length
- (Optional) - a rectangle of fusible fleece or interfacing with width = 1.5in (4cm) and length equal to fabric strap
- For shorter strap
- For a kid - a rectangle each from inner and outer fabrics with width = 2.5in (6.5cm) and length 10in (25cm)
- For an adult - a rectangle each from inner and outer fabric with width = 2.5in (6.5cm) and length 12in (30.5cm) or desired length
- (Optional) - a rectangle of fusible fleece or interfacing with width = 1.5in (4cm) and length equal to fabric strap
Best,
Krityum Sisters
Tuesday, 12 July 2016
How to sew a mounted front envelop back cushion / pillow cover

Namaste!
We are back with a new tutorial for everyone. And best of all, we made a video for all you guys so you can follow through with us.
You will need:
- Measurements of your cushion / pillow form. Ours is 15"x15" (38x38 cm)
- Add half an inch all around to these measurements. So ours becomes 15.5"x15.5"(39.5 x 39.5cm)
- Now calculate two thirds of the measurement of the longer side of your piece. Ours is a square so we have only one measurement. So (15.5*2)/3 = 10.5"(27cm). Add half an inch for seam allowance here = 11" (28cm)
- Now we need to cut three pieces from our fabric: one will be the exactly 15.5"x15.5", and two will be 11"x15.5"
From here onwards you can follow on with our video:
The pair of cushion covers that are featured at the end of our video are available through our handmade items' etsy shop: https://www.etsy.com/ca/listing/448691884/one-of-a-kind-hand-painted-and-pieced?ref=shop_home_active_1

Best,
Krityum Sisters
Tuesday, 10 May 2016
How to make Continuous Bias Binding - Photo tutorial

Today we are going to share our process for creating a continuous bias binding. We learned this process from our friend Sandy's youtube video (see below). If you wish to jump directly to that part where she discusses this technique go to 1.50min
We mostly followed her method but did a few tweaks. Here is what we did step by step.
Step 1
Take the whole width of the cloth, square the top (straighten the raw edge) and then fold it from one corner to one of the selvedges, forming a triangle. Now cut at the bottom of this triangle.
You will get a perfect square of fabric.

Step 2
Now fold into the triangle again and cut the fold-line to form two triangles. Place them one on top of other as shown below.

Step 3
Pin the bottom edges together and sew with a quarter inch seam allowance.

You will get the following. Turn the inside up and press the seam allowances apart.

Step 4
Now draw parallel lines (using a grid ruler will be very helpful here) at a distance equal to the width of the bias tape you want. We drew them 1.5inches. Our mistake was that we drew it on the public side of the pieces. The correct way is to draw them on the wrong (the one with the seam) side of the piece.

Now cut away any excess or unstraigtened edges at the end.

Step 5
Now with the public side up, fold the pointed ends towards the seam line. You will get something like below, and you will notice that the parallel lines form contnuous lines actoss the fabric cuts.

Pull the pointed edges in opposite direction away from the pieces so that the next set of parallel lines are aligned. (see below)

Step 6
Now pin in place and sew this diagonal edge with the same quarter inch seam allowance.

You will get this tube wuth two ends sticking out on either side.


Step 7
Start cutting at one of the ends that are shooting out of the tube we just sewed.

Since we already aligned the parallel line, we are going to get one continuous piece of bias binding.

BONUS
In order to turn this into corded binding, find a matching sewing thread first.

Now get the cord to go in the binding. We did not have one so we used a yarn.

Fold the bias tape lengthwise, matching raw ends, with the seams enclosed within the fold and press. Put the yarn flush with the fold-line and using a zipper foot, start sewing the entire length of the tape you want corded. And wallah!!! You have your own corded binding.

Hope you enjoyed this tutorial and will come back for more in the future. Do let us know if you would like us to make a specific tutorial to help you guys.
______________________________________________________
Please take a moment to like our facebook page and etsy shop. Please follow our instagram, twitter and google+ feeds if you would like to keep updated with our goings on. Take care!
Subscribe to:
Posts (Atom)